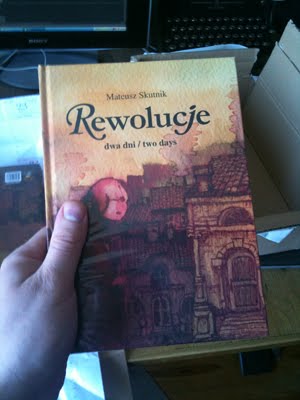
Rewolucje 5 – recenzja w KaZet


Zdaniem genialnego fizyka Stephena Hawkinga podróże w czasie są jak najbardziej możliwe. Tyle tylko, że w przyszłość, co wiąże się z rozwojem technologii, a konkretnie z możliwością osiągnięcia prędkości bliskiej prędkości światła. Każdy zresztą zdaje sobie pewnie sprawę, że cofanie się w czasie mogłoby doprowadzić jedynie do szeregu paradoksów, co było i jest tematem fabuł wielu książek, filmów i komiksów. Autor serii „Rewolucje” również postrzega czas jako czwarty wymiar, a bohaterowie opowiadanych przez niego historii są w stanie przezeń podróżować, czego dowody znaleźć można między innymi w „Rentagenie” czy „Biegunie” z albumu „Monochrom”. „Dwa dni” także poruszają tę fascynującą problematykę.

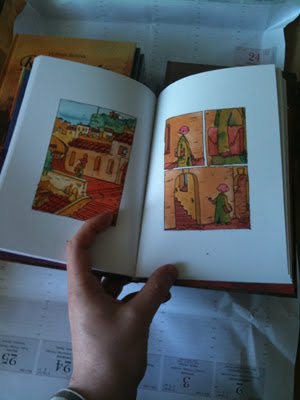
Naprawdę nie sposób mówić o dwóch dość krótkich (dwadzieścia cztery plus trzydzieści dwie plansze) epizodach zawartych w tym albumiku bez niepotrzebnego zdradzania ich treści. Dość rzec, że doskonale wpisują się one w dobrze znaną rewolucyjną rzeczywistość, z tą drobną różnicą, że w ich przypadku mamy do czynienia z narracją prowadzoną jedynie za pomocą obrazu. Tak się składa, że „Dzień pierwszy” (pierwotnie zatytułowany „The ordinary day”) powstał dla międzynarodowego wydawnictwa „Stripburger”, co niejako sprowokowało autora do stworzenia komiksu w tym uniwersalnym języku.

Warto przy okazji wspomnieć, że „Dzień pierwszy” był jedynym kolorowym komiksem zamieszczonym w „Stripburgerze” z 2004 roku, co bez wątpienia jest swego rodzaju wyróżnieniem polskiego twórcy. Z drugiej strony format, w jakim został wydany ten zbiór, miał decydujący wpływ na rozmiar, w jakim komiks został namalowany – A6. W związku z powyższym, „Dzień drugi” został przygotowany w podobnej wielkości. Owszem, niewielkiego rozmiaru plansze nie dostarczają może tak wielu wrażeń estetycznych, co format A4 z albumów wydanych przez Egmont, lecz bronią się pod każdym innym względem.

Prawdę powiedziawszy, myślę że dyskusję nad wielkością albumiku wydanego przez Mroję Press można w tych okolicznościach najzwyczajniej w świecie odpuścić. Zdecydowanie ważniejsza jest treść komiksów, a w obydwu przypadkach mamy do czynienia z bardzo fajnie skrojonymi fabułami. Z drugiej strony nie jest tajemnicą, że jakość wydania „Dwóch dni” zachwyciła samego autora, więc i czytelnicy powinni być co najmniej usatysfakcjonowani.

Dla jednych wyłącznie przekartkowanie „Dwóch dni” wystarczy za lekturę. Inni być może będą mieli ochotę zajrzeć do nich częściej i na dłużej, co jest zdecydowanie bliższe moim preferencjom. Jeśli jednak ktoś odczuje niedosyt, niech wie, że Mateusz Skutnik planuje zaprezentować jeszcze kilka – prawdopodobnie pięć – pełnometrażowych albumów osadzonych w wykreowanej przez siebie rzeczywistości. A że podróże w przyszłość w żaden sposób nie przeczą prawom fizyki, może ktoś spróbuje zapoznać się z nimi wcześniej niż inni?

Jakub Syty

//–

Inne opinie

Albumik składa się z dwóch nowelek (zdrobnienia w pełni uzasadnione jeśli chodzi o wielkość książeczki). Pierwsza z nich była już wydana w 2004 roku „Miniburgerze#13” (jako dodatek do Stripburgera#38). Jest to całkiem zakręcona historyjka, taka jakie właśnie polubiliśmy w „Rewolucjach”. Można ją interpretować na różne sposoby. Drugie opowiadanie jest całkiem świeże, parę stron dłuższe i scenariuszowo znacznie prostsze – przez co dla mnie gorsze. Całość jednak wydana bardzo ładnie z twardą oprawą na kredowym papierze powinna zadowolić największych malkontentów. Jedynym minusem jest szybkość z jaką można zapoznać sie z tymi historiami – 15 minut i po sprawie. „Rewolucje” mają jednak to do siebie, że często się do nich wraca… Polecam więc zakup tego tomiku.

Robert Góralczyk


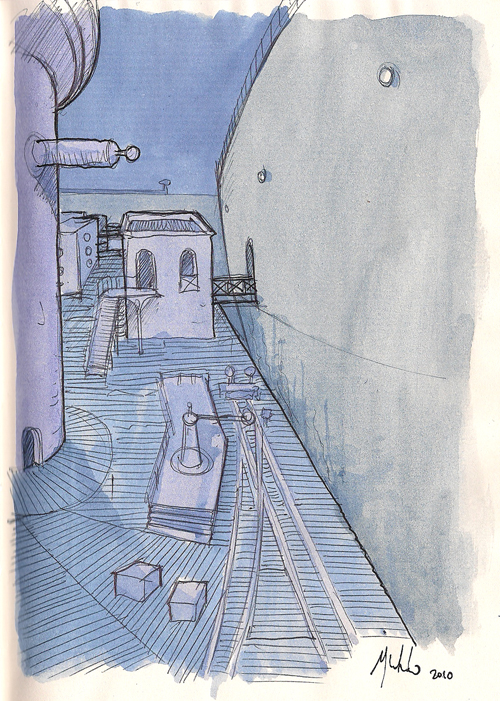
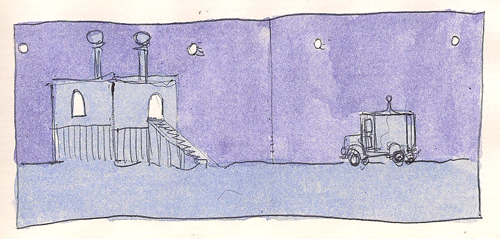
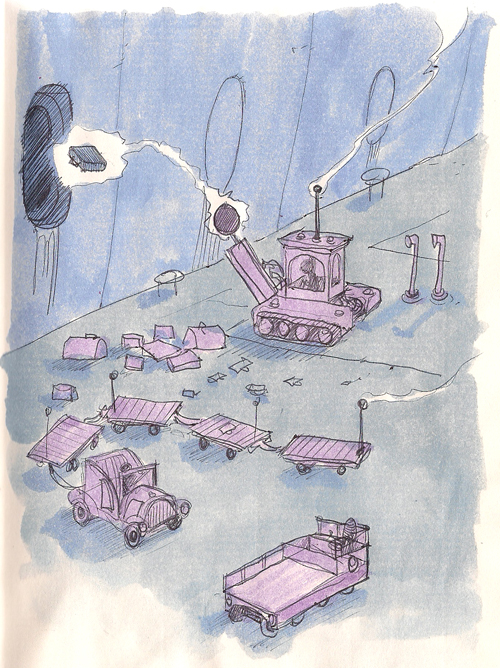
Rewolucje 6 – quay sketches


etos komiksiarza vs etos prowadzącego wywiad


ignition:


# Redakcja Kartona

hahahahaha http://www.tvnwarszawa.pl/1653120,komiksowy_przewodnik_po_stolicy,bawsie.html


# Robert Sienicki

http://bit.ly/98VJOf Asu się buja z Obuchowiczem, TVN pimpuje Przewodnik, a sprytną złotą kaczkę to ja rysowałem. LANS!


flame:


# Mateusz Skutnik

No to zachowałeś spokój, ja bym tego faceta zamordował tam na miejscu na wizji. To by była dopiero reklama festiwalu że hej… Oczywiście zamordował w przenośni. W tygodniu morduje, w sobotę daje autografy, zapraszamy. Że już nie powiem że jakiś totalnie z czapy Obuchowicz. Siedzi dwóch komiksiarzy i ktoś z czapy, to porozmawiamy z tym trzecim.


# Maciej P

Lepszy Bartosz Obuchowicz (kurwa, LOL!!!) od Tomasza Karolaka.


# Mateusz Skutnik

No właśnie nie, nie lepszy. Jeszcze sie ubrał jak matoł w czapke, szkoda że nie daszkiem do tyłu – wstrzeliwując się w stereotyp komiksiarza. Czyli debila. Bo to taki hiphoper tylko durniejszy, bo czyta kolorowanki dla dzieci.


# Robert Sienicki

Ciekawe czy Obuchowicz taki fan i wpadnie na Festiwal. Mnie zachowaniem wkurwiał. Nie to co nasz Asu. Klasa!


# Mateusz Skutnik

Tak, Asu pokazał spokój poważnego człowieka. Ale na przyszłość – jak ktoś mi jeszcze raz zada pytanie czy to się czyta czy ogląda to przerywam wywiad. Wystarczy. To oni potrzebują nas żeby zapełnić ramówkę, a nie my ich.


# Robert Sienicki

“Czy to się czyta czy ogląda?” jest nowym “czy komiks jest sztuką?”.


# Mateusz Skutnik

Nie. To nie jest nowe. Te dwa pytania idą w parze. Od zawsze…


# kaerel

Raz mi się udało przerwać wywiad. Przez pytanie, które mnie trzepnęło mocniej niż: czy komiks jest sztuką. Kazałem typowi użyć googla i się rozłączyłem. Oddzwonił ten sam a jakże inny człowiek już.


# Maciej P

A jakie to było pytanie?


# kaerel

Czy ja piszę i rysuję i czy to mój pierwszy komiks i skąd biorę pomysły. Pytał mając przed oczyma okładkę Łaumy.


# Mateusz Skutnik

Właśnie o to chodzi. Pokazać tym typom że ignorancji nie tolerujemy. Jak Waglewski.


# Redakcja Kartona

Spodziewałem się takiego ciosu i jak mantrę na krześle charakteryzatorek powtarzałem to o tej muzyce, że jest dla dzieci.


# Mateusz Skutnik

Wiesz gdzie problem? Że my się spodziewamy ciosów. A nie normalnego wywiadu. No i małpka obok w czapce fika. I czyta x-menów.


# Redakcja Kartona

Coż, nas to irytuje, ale przeciętny wacuś oglądający tvn serio myśli, że komiksy to tylko dla dzieci. Póki codziennie z tv nie będzie waliło komiksiarzami i nie będa oni w tańcu z gwiazdami, to pytanie będzie wracać i nie wskoczymy na wyższy poziom wywiadów w mediach masowych. PS: co do stroju Obuchowicza – ja miałem skarpety z Kaczorem Donaldem.


# Mateusz Skutnik

Ciekawe czy jak na wywiad przychodzą matematycy to też dostają na twarz pytanie: ile to jest 2+2? A obok siedzi dziecko z podstawówki i mówi: ja lubię dodawanie!!!!


# kaerel

Nie. Mają klasycznie: “czy matematyka jest przydatna w życiu codziennym?” myślę, że matematycy wtedy toczą pianę.


# Mateusz Skutnik

Dochodzimy do sedna. Każda grupa zawodowa ma takie pytanie przy ktorym toczy pianę a wywiadowcy (bo to przecież nie dziennikarze) są po prostu ignorantami. Nie da się wiedzieć wszystkiego o wszystkim, Więc oni nie wiedzą nic o niczym. To takie klasyczne podejscie do wywiadu niby z punktu widzenia dobiorcy który nic nie wie. Że tłumacz mi co to komiks jakbyś tłumaczył telewidzom. Ale oni nie udają że nie wiedzą dla dobra konwencji, oni naprawdę nic nie wiedzą. Na tym styku udawania że się nie wie i prawdziwej niewiedzy leży pies pogrzebany.


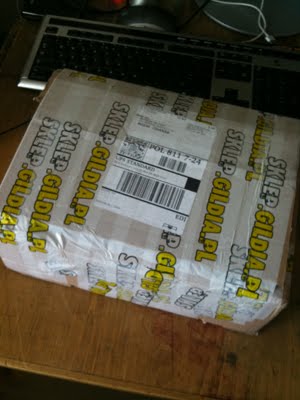
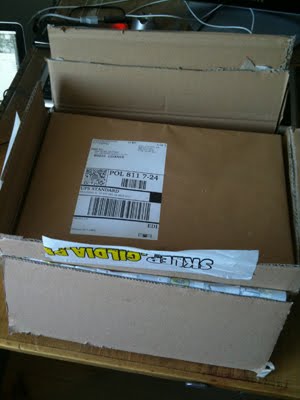
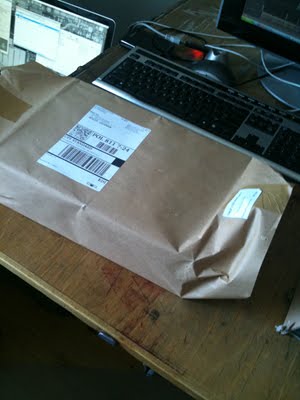
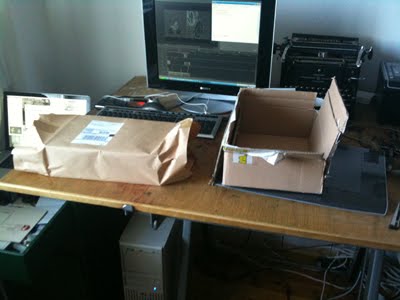
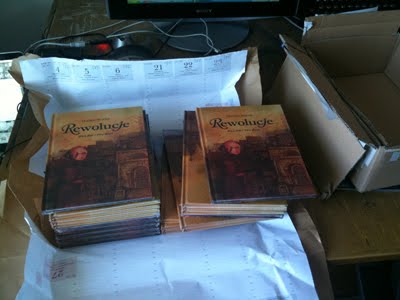
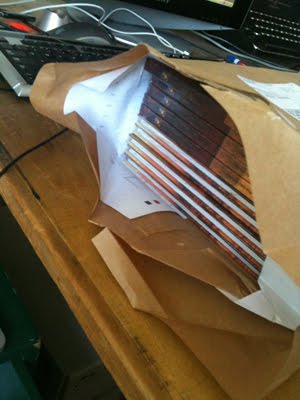
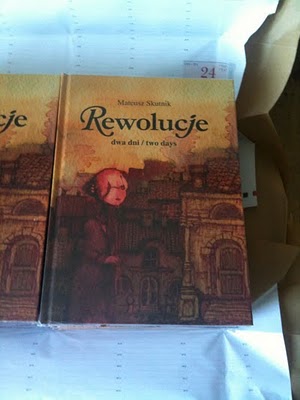
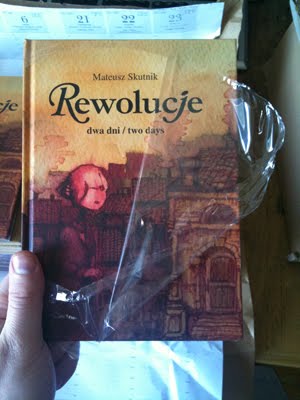
Rewolucje 5 unpacking


rew5_paczka_01

rew5_paczka_02

rew5_paczka_03

rew5_paczka_04

rew5_paczka_06

rew5_paczka_05

rew5_paczka_08

rew5_paczka_07

rew5_paczka_09

rew5_paczka_10


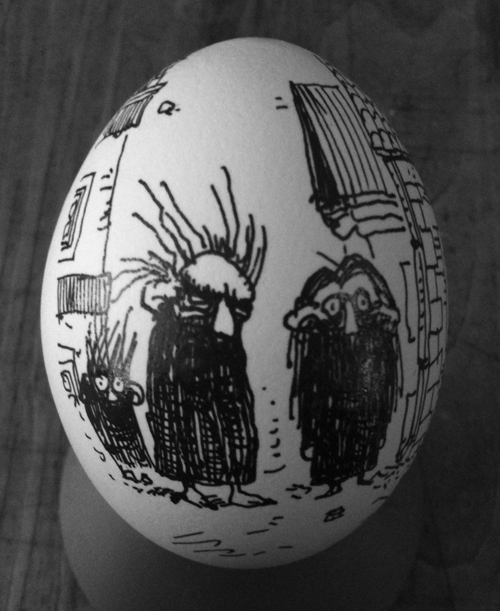
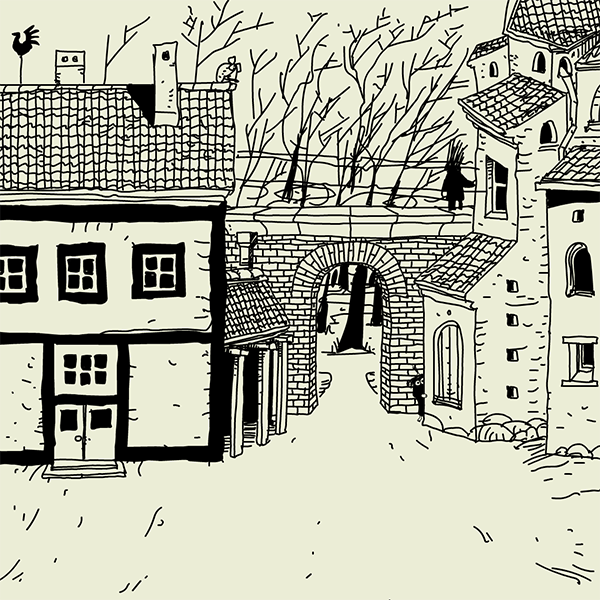
10 Gnomes in Bologna


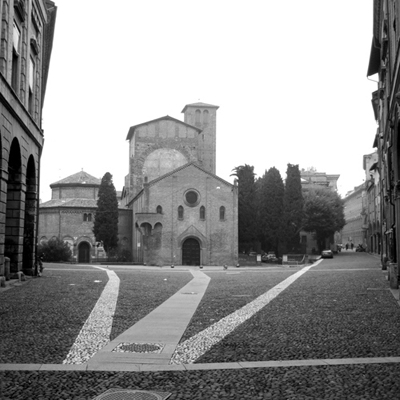
By popular demand: the gnomes are back!!

Consider this as a dessert after finishing the big game – Daymare Town 3, or an oversized postcard from Bologna, Italy.

play


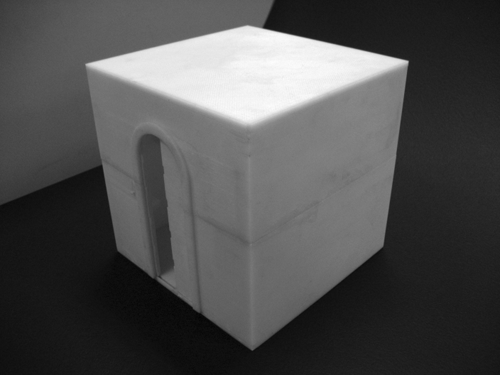
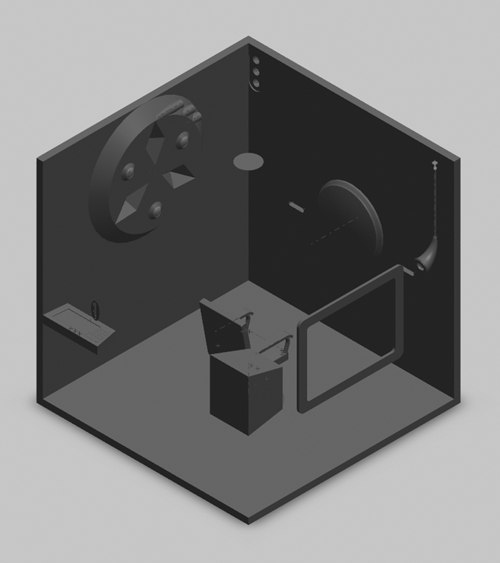
Real life Submachine mover model


Phew. That was a long and complicated post title. So this piece of work is from one of Submachine fans – Daniel Chaves and I’m letting him talk from now on:

I was thinking of what other classes of movers existed in the subnet. I wanted one that was powerful and versatile. So, I made one.

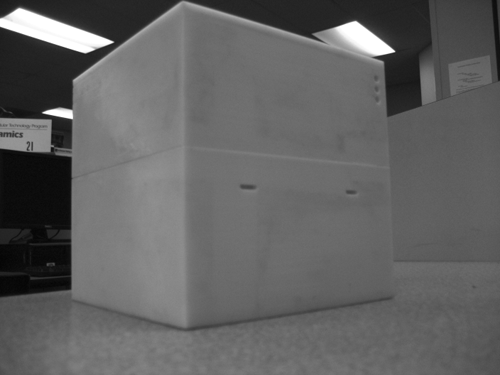
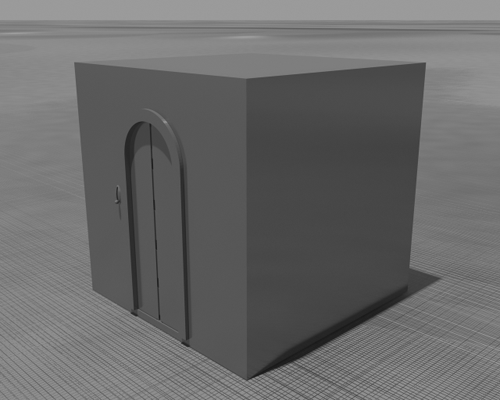
My plan for the whole room was for it to be machined out of 7075 aluminum, anodized to a custom color (R:82, G:103, B:100, excluding domes, which would function as lightbulb casing). For scale models, I turned to 3D printing. My school happened to have one of those (Dimension uPrint), and my teacher was kind enough to let me print it for free (ABSPlus plastic costs $7/in^3). Attached are images of the printed part, which required minimal post processing (but which happened to be a lot of work) to make the doors work (split the model, dug support out with screwdriver). The left door is very hard to close, so that door isn’t seen closed in the pictures. Not seen is the large “screen” on one of the walls that displays some sort of map, I don’t know which yet, and the light on the ceiling which lights up the whole room, except in the section view. Bonus images: STL file rendered in 3ds Max and interface, section (interior) view.

All I can say is – that is super cool. Thank you Daniel.


Easter Egg 2010


Daymare Town 3


available to play only in Daymare Town Complete Collection

Didn’t we just escape from that hellish town in a hot air ballon at the end of DMT2?… Well. It couldn’t be THAT easy, don’t you agree? So as we return to the daymare, one question arises: what the hell happened???

walkthrough: englishespañol | francaise | turkish | czech | russian

reviews: jay is games | -ak- | Alex Voytenko insight | Barts

Lento

~~~~

ratings:

JayIsGames.com:  4.9/5 (102 votes)

NewGrounds.com: 4.08 / 5.00 (582 votes)

LazyLaces.com: 91% (24 votes) | -ak-: 9.8/10

~~~~

Newgrounds Daily 2nd Place – 03/31/2010

O


Daymare Town 3 walkthrough


After you wake up, turn right, pick up your shoes.

Turn right again, click on the moneybag on the chair.

Turn back left, and pull the cord.

Turn right twice, and then forward. Answer ‘No’ 3 times.

Go forward. Click down the stairs. Go right twice, then go down another set of stairs. And another. Click on the guy in the top-left corner twice. Buy both the Rope and the Window Handle.

Click ‘Exit’, then click at the bottom to back out. Notice the barricaded door with ‘Exit’ on top of it. In the barricade is a closet, click on the bottomright of it to close up. Pick up the hammer.

Back out by clicking the left side of the screen. Now click on the bottomright to turn around. Click just to the right of the staircase to look under it. Pick up the Valve.

There’s a loose floorboard here, click it to remove it. Then pick up the Stone Orb.

Back out twice, go up the stairs by clicking lowerleft of the screen. In this screen are three hotspots on the right side. One to go up the stairs, one to look at the locked cabinet, and one to go right on the same floor. Click the latter. Now use the Window Handle on the window, click it once it’s in place to open the window. Now use the rope in the space here to lower it. Before you leave though, click the far end of the pipe that leaves the heater on the right. You can find a key here. Now back out and click the open window to go out.

Click the bottom twice, then left once. Click on the archway. Click left twice, then use a coin on the door (from your moneybag). Enter the door, then click on the painting. Click on the lower half of the painting again, and pick up the Seashell laying on the beach. Now click the bottom of the screen 6 times to go back.

Go one screens to the left. Click the stairwell that leads underground. Click the lowerleft of the screen. Use the Valve on the Vault, click it again to open it, take the Crystal Ball.

Back out, then click on the hole in the roof to go outside again.

There is a set of stairs to the right that leads to a new square behind this one. There is a set of stairs before that that lead to a building, click to close up on that building. Use the hammer to smash the lock.

Go left. Close up on the painting, and again to enter it. Click just to the right of the base of the tree on the left to go there. Click on the end of the path to go to the beach. Pick up the shell there. Bottomright to back out, then back out again.

Click on the ladder leading to the second floor of the house. Click in the doorway to enter. Pick up the puzzle piece laying in a corner.

Click in the doorway to leave, and go down the ladder. Now click on the barred door. Click on the bar to remove it, then enter the house. This looks familiar! Go left. Click the cabinet door to open it, and pick up the gear wheel. Then go right. Use the hammer to smash the lock on the chest, click on the chest and pick up the Crank Handle. Now click on the top to exit this view.

Click the bottom four times to go back to the square. Click the leftmost arch and use a shell on the pedestal. Back out, then do the same with the third arch. Back out. Now click the middle arch, and enter the building. There’s a hole in the wall on the upper-left, click it, and pick up the puzzle piece. Click the bottom of the screen three times.

Now click the other staircase on the right. Click at the end to go to the new square. The archway at 6-0’clock is where we come from. Let’s go clockwise. Just to your left is a hole in a wall, click it. Pick up the gear wheel to collect it. Back out.

Now go into the building to the left of that, at roughly 8-o’clock. Go up the ladder. Use the crystal ball on the table in front of the magician. He will hold up a Stone Orb, pick it up.

Go down the ladder, then outside the building. Click the alleyway at 9-o’clock. Go left twice, then use the Crank Handle on the device. Click it to use it, another Stone Orb comes up. Pick it up.

At 12-o’clock is a closed door, click it. Pull the rope, wait a bit, then enter the building. Use the hammer on the clock, and pick up the two gear wheels that fall out.

Back out, and click on the building at 1-o’clock. Click in the darkness to enter. Click on the baby laying on the bed. Back out twice.

Click on the bottom twice to go back to the square. Click on the building to the right, where we were earlier. This time, Go left, then right, then up the staircase. Use 2 gears on the device, and then click the switch. Back out of the building.

Go to the left for a different part of the square. Click on the building at the top-right. Instead of entering, click on the right side to find a man. Click the gear which is somehow attached to his jacket. Click left twice, and use 2 gears on the device, and use the switch. Go right once.

Now enter the building. Click the top-right to go up the stairs, then the ladder to climb it. Pick up the gear laying on the floor, and go back out of this building. The spots can be tricky to find, so a bit of searching will be needed. Finally, back out, back to the square.

The second building from the left can be entered to sell some of your stuff, if needed. You can also buy a key here. You’ll need to buy atleast one, which makes a total of two keys. Back out of the shop.

Click to the left, then click on the door to the right. Use a key to open the door. In here, use 2 gears on the machine, and turn the switch. Back out to the square.

Click right twice, then enter the square behind this one, where we were before. Click on the building at roughly 8-o’clock. The 3 devices you’ve put gears into, opened the machine here. Take the Stone Orb. Back out, then leave this square back to the original square.

At this point, make sure you have either a key and 3 coins, or 18 coins. Click right twice. Click the bottom of the rope hanging out from the hospital, then click on top of the screen to climb up. Click the window where the rope comes from to enter the hospital. Click on the bottom, then to the bottom left. Here is a man looking out the window. Click the window for a close up, then back out. Now talk to the man, and buy a ‘Sleeping Pill’ (and a key, if you haven’t got one anymore). Back out into the hall again.

Click the cabinet on the right, below the stairwell that leads upstairs. Use the key to open the door, and pick up the puzzle piece in there. Now go outside the hospital again.

Click right twice, to where you can see two guards guarding a gate. Click to close up, then click on the left of the screen. Click the top of the stairs, then the doorway to enter. Give the guard here a sleeping pill. His hat will fall off, take it. Back out three times.

Click on the guards, and click again. They will now let you pass. Click right three times, to a view of your crashed balloon (and lots of coins!). Click the left doorway for a closeup, again to enter. In the middle of the room is a cabinet, click on the box on top of this, and pick up the puzzle piece. Back out, then click the door on the left to exit.

Now click on the door to the right, and again to enter. Click the bottom-right to go to the basement. Give the baby to the woman, she will give you a Stone Orb in return. Pick it up.

Go up two staircases, and click on the book. Click on the tower in the book to enter the book. Now click on the door to enter the tower. Use 4 puzzle pieces in the wall here, and get the last Stone Orb.

Click on the door to the left to leave the building, then twice at the bottom to leave the book. Click the staircase to descend, then the door on the left to leave the building. Click the bottom to back out, then left twice. Click the low arch, then use all 6 Stone Orbs and pull the lever. Click right to leave, then go to the right. Click the tunnel to leave. The end!

…….

written by Maqrkk | found on jay is games


Daymare Town 3 – turkish solution


written by Sishyphos

-yatak altı 2 sigara

-yatak üzeri rubber ve serum şişesi

-yatağın sol yanı komodin ,ekmek şişe ve shoe polish

-pencereye zoom çivi

-ilk sağ ayakkabı giydik

-bir sağ daha para torbası

-geri gelip zili çaldık.adama sürekli No dedik çıkmamıza izin verdi

-merdiven başı soldan 2 ve 3 cü sütun arasından coin (1)

-soldan aşağı ve iki ker sağ,coinler (2,3)

-sağdan aşağı ve sağ düz radyatörün sağ borusundan key (1) ve coin (4)

-üst kata çıktık karşı kapı anahtarla açıldı.pencereden 2 sigara ve idrar kabı,solda kovadan stool

-şişe ve serum birleşiyor

-orta kata indik en sol doktora gidip polish,ekmek sigaralar,idrar kabı stool sattık ve sleeping pill aldık

-orta kattan aşağı inince soldaki adamdan rope ve door handle satın aldık

-ordan sağ ve sağ yapınca sol köşeden valve

-adamın önündeki tahtayı kaldırıp stone orb (1)

-geri döndük exit yazan kapının altına zoom ve çekiç

-orta kata çıktık karşıdaki pencereye handle takıldı açıp ipi radyatöre bağladık aşağıdayız.yere inince bir geri tıklayıp uzaklaştık

-buranın adı lupus square .coin (5)

-sağ yapınca 3 adet coin (6,7,8)

-2 kere sağ daha yapıp en sağ kapıdan girip merdivenden yukarı ve tekrar yukarı soldan gear (1)

-masa üzerine rubber tube takınca dolap açıldı coinler (5 adet)

-pencereden dışarı çıkınca coin

-odadan geri çıkıp ilk sağ yapınca gnome (1)

-bu binanın kapısına inip sağ yapınca tuhaf adamın kafasından gear (2)

-kapıya dopru sol ve yine sol gearlar takıldı mekanizmaya ve düğme çevrildi

-meydana dönüp sağ yapınca (iki çocuk olan ekran ) soldan aşağı bodruma inildi duvardaki kasaya valve yakıldı ve crystal küre

-meydana dönüp hemen sağdaki kapının kilidini çekiçle kırıp içei girdik ilk kattan coin

-sol yapıp odaya girdik dolaptan gear (3)

-tabloya zoomlayıp içine girdik evi görürken sol yapınca sea shell (1)

-evin çatısına çıkınca adam oturan yerden chinese puzzle tile (1)

-evin sağından giriş yapınca odaya geri dödük sağ yapınca sandık var.çekiçle kırdık içinden mechanical crank .ve o ekranda solda coin

-meydana geri döndük soldaki merdivenlerden Ra square geçildi

-merdivenlerin hemen solundaki zili çalıp içeri girdik saati çekiçle kırdık ve gear (4 ve 5),sol sandalyede coin

-lupus square e geri döndük.sandığı görürken yukarı çıkıp mekanizmaya gera taktık çevirdik

-ra square de merdivenlerden sola 3 cü ok işaretine girip en sola gidince alete crank takıldı ve stone orb (2)

-o meydanda sola 4cü okla binaya girdik bir makine geçtik yukarı çıkıp küreyi verince stone orb (3)

-meydanda sola 5ci ok ve pencere önünden gear (6)

-büyük merdivenden kiliseye girince bebek alındı

-lupus square geri döndük park kapısının solundaki binadan girince sağda masa altında gnome (2)

-mezarlık veya park adı her neyse girip sağ yapınca gear (7)

-geri dönüp sola gidince kapalı kapıyı coin ile açtık.yukarı çıktık ve tabloya zoom içinden sea shell (2)

-meydana geri döndük parktan çıkıp.çocukların olduğu ekranda sağ ve sol kemerli kapılardan girip sütunların üzerine sea shelleri bıraktık.orta kemerli kapıda yeni kapı açıldı içerde solda duvardaki delikten chinese puzzle tile (2)

-çocuklardan sol yapınca yerdeki pencereye zoom ve gnome (3)

-bu pencerenin üst penceresinden coinler

-pencerelerin solunda kalan kapıdan girince yine satıcı var.ve yerden coinler

-tekrar sol yapıp sol ilerde muhafızları görürken sağ kapıyı anahtarla açıp girdik gear taktık ve mekanizmayı çalıştırdık

-şimdi ra square e geri dönüp falcı olan binaya gidince bir makine vardı o açıldı ve stone orb (4)

-muhafızlara zoomladık bizi geçirmiyorlar.sağ yapınca komutanlarının olduğu binaya girdik.adama sleeping pill verip şapkasını aldık giydik

-muhafızlardan geçtik.Le Borgoi Pivot buranın adı .ilk sola eve girince kral ve kraliçe tablolarından coinler alınıyor.

-soldan 2ci ok bizi orbları takacağımız yere götürüyor

-2 sağ yapıp ilk sol oktan eve girince dolap tepesindeki kutudan chinese tile (3)

-tabloya bacasına zoomlarsak gnome(4)

-merdiven altından fil heykeli

-kapıdan çıktık ve sağ binaya girdik üste çıkınca soldan gear (8)

-sağdan aşağı inip kadına bebeği verinde stone orb (5)

-üst kata çıkıp masadaki kitabın içine ordan kuşleye girince tile yerleştirilen yer

-hastaneye geri dönüp orta kattan doktordan anahtar satın aldık ve geri çıkınca üst kata çıkan merdivenin altında sağda dolabı açtık ve chinese tile (4)

-hastaneden çıktık ve muhafızlardan ileri geçip sağa gittik sağ binaya girip yukarı çıktık.kitabın içinden kuleye gidip tile takınca stone orb (6)

-geri geldik ve kemerin altına stone orbları yerleştirdik.kolu çektik kemerden geri çıkıp sağa gidince büyük tuğla duvar açılmış .

VE ÇIKIŞ

67 coinle bitirmişim.adımı yazdırınca silver medal score dedi.


« Previous PageNext Page »